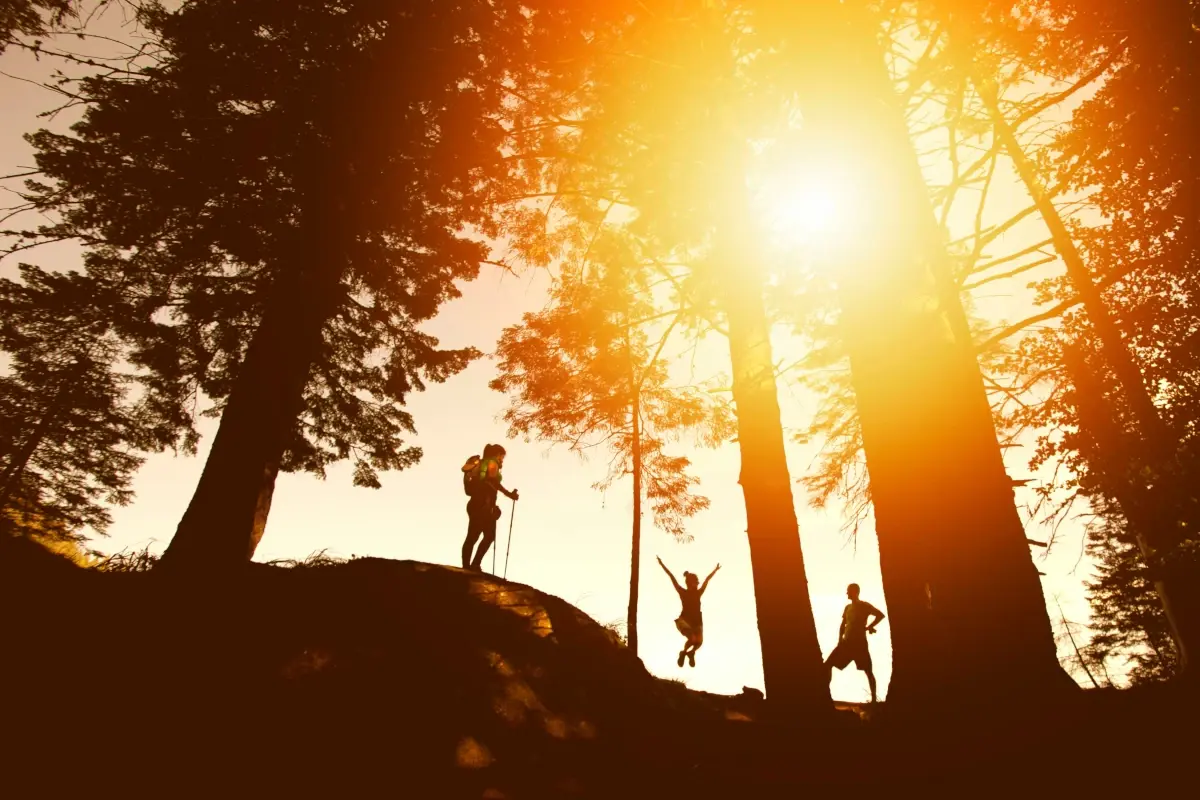
How to Start Hiking: Before the Trip
Whether new to BC or just visiting, sooner or later you’re going to find yourself trudging up a mountain to marvel at forests, wildlife, and stunning vistas. If you’re wondering how to start hiking, it’s not as simple as picking a trail and leaving the house. There’s a bit of additional planning that goes into hiking to help keep you safe in the outdoors, and it starts with checking a few things before heading out.
This article is for beginner hikers, people getting back into hiking after time away, or anyone who wants to feel more confident before heading out.
BC Search and Rescue Facts
• British Columbia is the busiest SAR province in the country.
• There are 3200 volunteers in 78 different groups across the province.
• SAR responds to over 1960 incidents per year.
• The top three reasons for rescue are injury (especially lower extremities), getting lost, and exceeding one’s abilities.
• 95% of search and rescues involve locals.
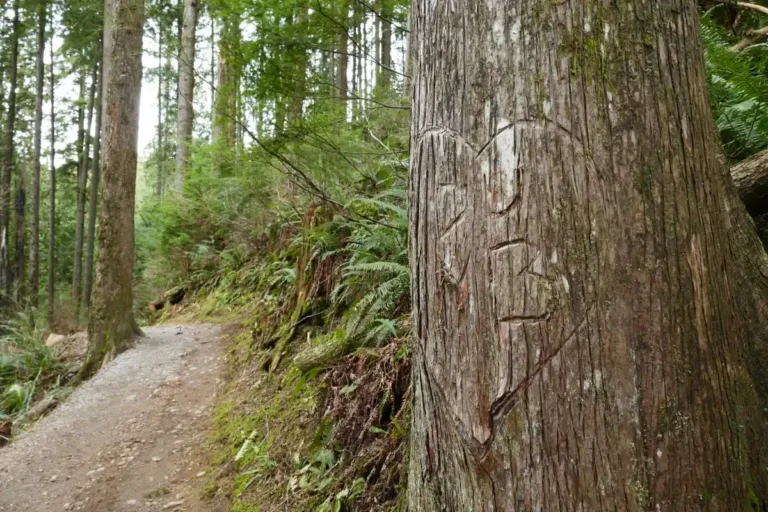
Picking a Trail
If you’ve never been hiking before, or are getting back into it after a long absence, aim for an easy trail, something in the range of less than 100 metres of elevation gain and under 5 kilometres in distance. Think flat or mostly flat, and not too long. When looking at trail difficulty, remember that user-inputted ratings are subjective. What’s easy to one person may be hard for another.
It’s normal as a beginner to be slow and get fatigued easily. Even experienced hikers have off days and find themselves passed on the trail by someone stronger. So if you find yourself struggling, stay positive, don’t compare yourself to others, and know that with time and patience, soon you’ll be trekking like a pro.
Distance and Elevation Gain
BC is mountainous, so finding a flat trail can sometimes be challenging. Unless sticking to valley bottoms, you are almost always going to be going uphill at one point or another. While the best views are at the top, how long it takes you to get there depends on your fitness level and physical abilities.
Before setting out, check how long the trail is and how much elevation you are gaining. These should align with your current fitness level and physical ability. If you have any pre-existing conditions that may impact your ability to hike (things like asthma or knee pain, for example), selecting a trail is especially important.
Long hikes are hard. Going uphill is hard. Even a short uphill hike is going to be different for everyone. Remember that starting hiking as a beginner does not always mean inactive. Plenty of active people can also be beginner hikers!
Basically, don’t pick a 30-kilometre day hike for your first trail just because you saw a pretty photo on social media. I promise you that you will be hurting if you do manage to finish a hike of that length, probably for days afterward.
Route, Terrain, Current Conditions
Once you’ve selected a trail that aligns with your fitness level and physical abilities, isn’t too long, and isn’t too uphill to start with, your next step is to check current trip reports and have a map of the route to take with you.
Seasonally, things can change on the trail. Between October and June, it is still winter in the mountains, even if it’s a warm, sunny day down below. Even if your trip report doesn’t show winter conditions, you should expect them during those months. A sunny hike can still involve snow-covered switchbacks or icy creek crossings. At night, it can even drop down to freezing temperatures at higher elevations in the middle of the summer.
Other factors can also affect trail conditions. There can be washouts, deadfall, wildfire closures, flooding, broken bridges, mud, and more. The trail itself can also be potentially hazardous. Is it well-groomed? Full of loose rocks? Covered in downed trees? Braided? Muddy? Snowy?
Weather, Sunset, and Turnaround
After you’ve selected a trail and have an idea about your abilities and the trail conditions, you need to make sure that you have enough time to complete the trip. This means checking the weather, what time the sun sets, and allowing enough time for the return trip.
Weather in valley bottoms differs from that in the mountains, and most weather forecasts are for lower elevations. Mountain forecasts can give you a better idea about what to expect up top. Knowing what to expect weather-wise allows you to bring along the right gear.
Getting to the top is only halfway. If you run into adverse conditions, injure yourself, or are moving at a slower pace than expected, your halfway point is going to change. This means picking a turnaround time. Your turnaround time should give you enough time to make the return trip safely. A good starting point is to plan to turn around when you’ve used half your available daylight.
It’s important to check what time sunset is. After getting used to long days in summer, earlier autumn darkness can catch people off guard. If you know what time the sun will set, you can calculate how long the hike will take, and monitoring your pace throughout the hike will allow you to modify your turn point so that you return before dark. That’s not to say you can’t hike in the dark. You can, just as long as you have the proper gear and you’re not going beyond when someone expects you back.
Gear, Clothing, Footwear
Dressing for the weather is easy, but what if the weather changes? Layering up gives you options if the weather changes throughout the day. More important than what you wear is the fabric type.
Wool is good for cold and moisture because it stays warm even when wet. Cotton can feel comfortable on hot, dry summer days, but it becomes dangerous in cool or wet conditions because it stays damp. Poly fabrics tend to dry quicker, and fleece is also a good option for warmth. Down, on the other hand, loses its warmth as soon as it gets wet, so it’s better for cold, dry conditions.
Outdoor clothing is designed for performance. That’s why you see things like quick-dry, UV-blocking, and moisture-wicking fabrics. It’s also expensive, but you can often get knock-offs that work just as well for a lower price. When you’re starting out, just use what you have on hand, and as time goes on, you’ll hone in on your needs and can purchase accordingly.
Footwear is one of the most important parts of your wardrobe. Comfort and grip are probably the biggest factors in choosing what to wear. Some people choose to wear hiking shoes, while others prefer hiking boots. Mid-rise boots fit just below the ankle, while others lace up over the ankle. Each has it benefits and will depend on your preference. Good tread is essential because the more of it you have, the less chance of slipping.
Basic things you need for hiking can vary depending on the conditions. I bring along a hiking pole every time I go out, because they’re just so darned useful. Snowy? Bring ice grips for your boots. Rain expected? Bring a set of waterproof gear. Hot out? Bring extra water, salty snacks, and water treatment or a filter. And always bring your ten essentials.
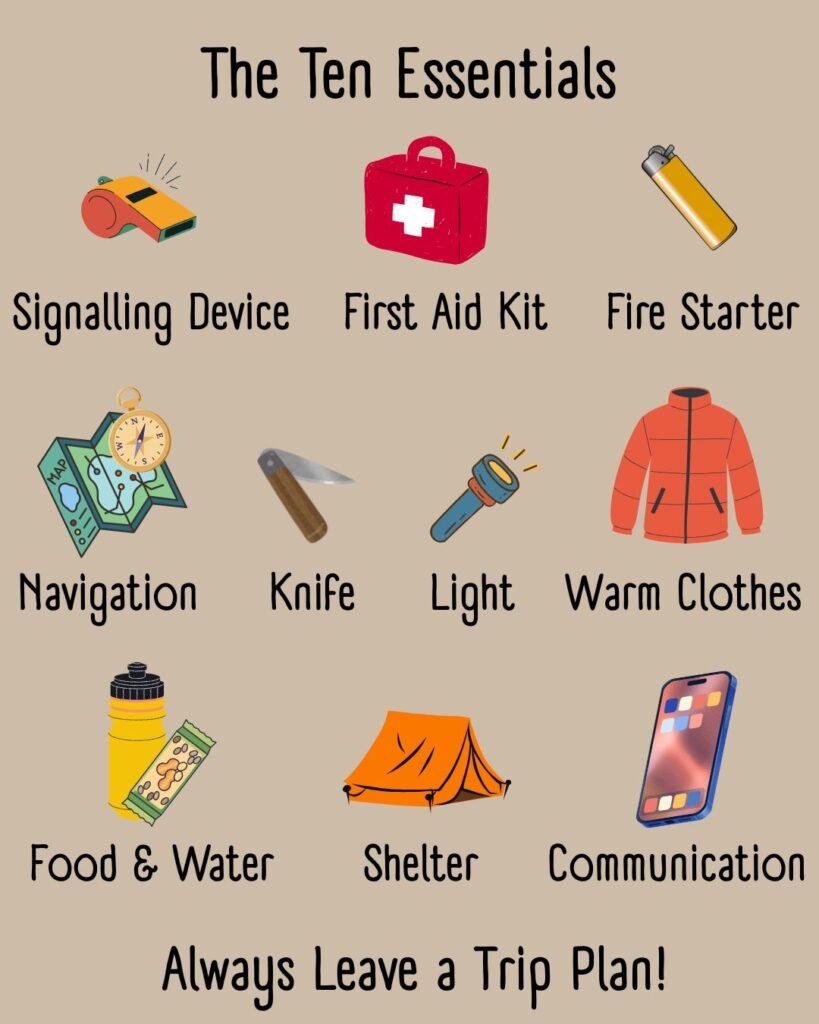
The Ten Essentials
If you’ve heard of hiking, then you’ve probably heard of the ten essentials. What are they? Well, they’re a set of gear that will help you if things go wrong. If you injure yourself on the trail, having this gear will allow you to call for help and keep yourself warm and dry until help arrives. Help in the wilderness is not instantaneous, meaning hours of waiting.
The idea behind the ten essentials is this: you won’t always need them, but if you do need them, you’re going to wish you had them. That’s why it’s smart to always carry them.
You’ll find variations of the ten essentials around the web. These BC hiking essentials are based on what Search and Rescue groups recommend:
Signalling Device: (Examples: whistle, flare.) Whether lost or injured and unable to move, a signalling device can attract attention and alert search and rescue to your location.
First Aid Kit: (Commercial kits or self-assembled.) Most often used for minor cuts and blisters, a first aid kit helps you patch up injuries.
Fire Starter: (Examples: matches, lighter.) A fire can help searchers find you, and also help to keep you warm. As soon as you stop moving or the sun goes down, you will be cold, and keeping warm is essential for preventing hypothermia.
Navigation: (Examples: compass, GPS, maps.) Whether a paper map, digital map, or app (make sure you have enough battery), this is what helps you find your way safely and accurately.
Knife: (Example: pocket knife, multi-tool.) A knife is one of the most useful survival tools out there, especially for cutting small pieces of firewood, repairing gear, and cutting bandages.
Light: (Examples: flashlight or headlamp.) Getting caught out after dark is one of the most common reasons for getting lost. Having a light source along ensures that you can still navigate in the dark, and you can signal rescuers if lost or injured. Carry extra batteries as well.
Warm Clothes: (Examples: toque, warm socks, puffy jacket, base layer.) Being caught out in adverse weather or at night, especially in the mountains, means you will get cold, especially if stuck in one place. Warm clothes mean extra warmth, which means more comfort and prevents hypothermia.
Food & Water: Having extra water and snacks will keep your morale up and your head clear when out for longer than expected.
Shelter: (Examples: emergency blanket, small packable tarp, large orange garbage bag.) If stuck, staying out of the elements is essential for preventing hypothermia. Bright colours make you visible to rescuers.
Communication: (Examples: cell phone, satellite communicator, personal locator beacon.) Having one of these is essential for alerting authorities if you’re in trouble. Always call 911 first, even if you’re out of service. If you can’t call for help, leaving a trip plan ensures that someone else will do it for you.
The Trip Plan
Your trip plan is the most important part of the planning process. The bottom line is this: always tell someone where you are going, and when you are expected back.
When something goes wrong in the wilderness, someone needs to know to look for you at all, and they also need to know where to look for you. There have been many cases where delays in reporting meant rescues started too late. If it takes rescuers too long to figure out where you went, outcomes can be poorer.
For multi-day trips, a more detailed plan with a list of your group members, route, and gear should be filled out and left with someone responsible. For day trips, a trip plan can be as simple as a quick text to a loved one.
Even if you’re going out for an hour, even if you’re with a friend or group, always tell someone where you are going.
Stuff Happens, So Be Prepared
It’s a myth that most rescues involve visitors, which makes being prepared important. Any experienced hiker has seen the classic scenario: a hiker with inadequate gear, poor footwear, and a late start on an overly ambitious objective. In turn, sometimes experienced hikers can break a bone on a flat trail not five minutes from the parking lot.
Stuff happens, so be prepared. Nothing is ever going to make you completely safe in the outdoors. Even with technological advancements in navigation, batteries fail, screens break, and people get lost. Being as prepared as possible going into the hike can affect outcomes should something go wrong.
If you found this article helpful, I’ve turned it into a simple pre-trip checklist you can use before every hike, especially when you’re just starting out. You can find it here. Your support helps me to keep creating practical BC-based outdoor resources.